
(Affiliate disclosure: I may receive a commission if you purchase something through links in this post. As an Amazon Associate I earn from qualifying puchases. See more details here:)
It took me a long time to finally start making my own sourdough starter and sourdough bread. It was something I had wanted to do for awhile, but it seemed so complicated, and I just kept on procrastinating because I didn't really know how to do it. Once I actually gave it a try, though, I realized that it wasn't nearly as hard as I had thought it would be, and that I was making things much more complicated than necessary! That's why I wanted to write down some of the sourdough starter tips that have helped me with my starter.
I want to share some tips with those of you who might be just as intimidated by sourdough baking as I was before. These suggestions are some of the things that have helped me with using and maintaining my own sourdough starter and observations about what has seemed to work best for me.
Sourdough Starter Tips
1) Don't Overcomplicate Your Sourdough!
A lot of information about sourdough makes it seems like something that takes a lot of time and effort and requires following very detailed instructions to care for it, but it doesn't have to be that way!
People have been baking successfully with sourdough for centuries without any sort of modern equipment or detailed instructions for maintaining a starter. In fact, I haven't seen a single mention in any 18th or 19th century cookbooks describing how to care for a starter. This knowledge would have been passed down from one generation to the next, with each family likely maintaining their starter in slightly different ways.
Sourdough starters are really pretty resiliant little things, and, in most cases, it takes a lot to kill them, so don't worry if you feel like you aren't doing everything "just right." The chances are that you'll still be able to bake something delicious even if your starter is less than perfect.
The book that really helped me to relax about the whole sourdough process was The Vintage Remedies Guide to Bread by Jessie Hawkins. This book was the simplest and least complicated explanation of sourdough that I'd ever come across, and it was what convinced me to finally give sourdough baking a try.
2) Pay Attention to the Climate
The way your sourdough starter reacts depends a lot on the climate you live in and the temperature inside your house. I've even heard that a sourdough starter can be affected by the emotional climate inside your home. I'm not sure if that's true or not, but it's a pretty interesting idea!
In the winter time, your starter probably won't grow quite as quickly as in the warmer months, and you probably won't have to feed it quite as often. This also means that dough will take longer to rise in the winter, though, too. When you're preparing your dough or batter, it's best to use warm (but not so hot that you can't comfortably put a finger in it) water rather than cool water and to set your dough in the warmest place you can find to rise.
In the summer, though, you might find that your starter needs to be fed more often and that your dough will rise much more quickly than in the winter. On one of the first warm days of this season, I made the mistake of letting my bread dough rise overnight and during the day while I was at work (which is usually the perfect amount of time for my bread during the winter), but with the warm weather the dough had over-risen and my bread turned out dense and flat. During the summer months, it's also best to mix your dough or batter up with lukewarm or cool water rather than warm water.
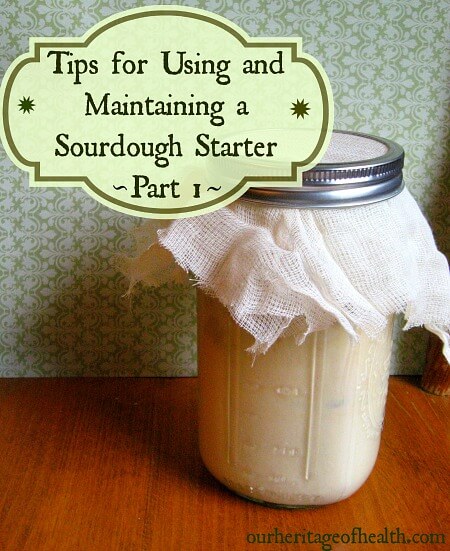
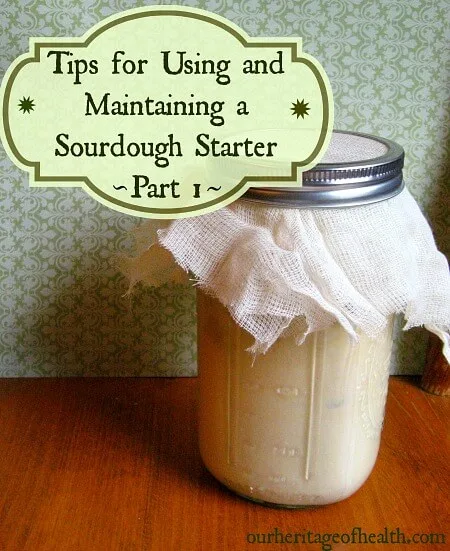
3) Use a Wide Mouth Canning Jar
I would definitely recommend using a wide mouth Mason jar rather than one with a narrower opening. This is just a practical tip. It won't affect the quality of your starter either way, but it's a lot easier to stir when you're feeding your starter if you use a jar with a wider mouth. (And if your starter is easier to stir, you'll probably be more likely to actually feed it rather than procrastinating because it's hard to stir :))
You also want to have at least a quart size jar because if you use anything smaller, you'll have to keep dumping some of the starter out each time you feed it to keep it from overflowing (unless you have a huge family and you bake every single day!)
4) Use A Closely Woven Cheesecloth to Cover It
The purpose of the cheesecloth is just to keep flies, bugs, splatters from other kitchen projects, etc. our of your starter. You still want air to be able to get into your jar, so you want something breathable to cover it, but if you use a fabric with holes that are too big, you could end up with flies in your starter.
A couple of weeks ago, I opened up my sourdough starter to feed it, and a fruit fly flew right out of the jar at me! Apparently fruit flies love sourdough starters, and the cheesecloth I had been using wasn't tightly woven enough to keep them out. Since the last thing I wanted was to start a fruit fly farm in my kitchen, I switched to a cheesecloth with a tighter weave, and since then I haven't had any problems with fruit flies getting into my starter. This is the cheesecloth that I've switched to and that has been working well for me.
5) Use Filtered Water for Feeding and Baking
When you feed your starter or when you're making up dough or batter, it's best to use filtered water or spring water rather than tap water. The chlorine in the tap water could kill some of the microbes in your starter (not good!), and it could keep your dough from rising properly.
Stay Tuned for Part 2 . . .
To keep this from turning into a massively long post, I'm saving the rest of the tips for my next post. Click here to read part two of this series.
Sourdough Info and Recipes
- This post includes the method I use to feed my starter:
- These are a couple of the recipes that I've tried so far with my starter:
Easy Homemade Sourdough Bread Recipe from 1869

This post is shared with: Sunday School at Butter Believer, Party Wave Wednesday at Holistic Squid; Frugal Days Sustainable Ways at Frugally Sustainable, Natural Living Link-Up at Jill's Home Remedies.
(Lori Elliott is a participant in the Amazon Services LLC Associates Program, an affiliate advertising program designed to provide a means for us to earn fees by linking to Amazon.com and affiliated sites.)
The information in this post is not to be taken as medical advice and is not intended to diagnose or treat any disease.
Aurlie Young
Wednesday 15th of April 2020
Does one half cup starter equal one tablespoon dry yeast? Also amount for one teaspoon dry yeast?
Lori Elliott
Thursday 16th of April 2020
I've found that the one half cup of starter is approximately equal to one packet of active dry yeast (I usually use Fleischmann's active dry yeast which says that one packet is equal to about 2 1/4 teaspoons.) So I guess that would mean that the equivalent of one tablespoon of dry yeast would be a little bit more than one half cup (but not much more) and that one teaspoon of dry yeast would be equal to just a little bit over a quarter cup of starter. I've found, though, that for the sourdough starter the amounts don't have to be as precise as they would need to be with dry yeast. Using about a half a cup of starter has worked well for me so far for sourdough bread and pancakes.
Judith
Friday 3rd of April 2020
Has anyone ever tried using warm beer instead if water in the starter?
Lori Elliott
Friday 3rd of April 2020
I've never tried it myself, but if anyone else ever has I'd definitely be curious to know how it worked!
Kerstin
Thursday 7th of November 2019
Am very new with sourdough starter. I just received one today and am eager to start with that. Thank you for your great explanations. Still one question: Anything I should AVOID? Like metal or wood or plastic?
Lori Elliott
Thursday 7th of November 2019
That's a good question :) From what I've read and experienced with my own starter, metal should be fine as long as it's not a reactive metal. So a metal like stainless steel should be fine, but aluminum and copper aren't recommended (at least not by what I've read on the King Arthur Flour website.) I've been stirring my starter with a metal spoon for years now and haven't ever had a problem with it. I've never used plastic around my starter, but I haven't read anything saying that it's bad for starters, and I've heard of people using plastic containers to store their starters in. I've never used wood either, but wooden bowls and spoons were so common in the past that I'm sure people must have used them with their sourdough starters. So I can't say for sure from personal experience, but it seems like it would be pretty unlikely for wood to harm a sourdough starter. I like to store my starter in a glass Mason jar because I can see it easily through the glass to see how active and bubbly it is, and the tall glass jar gives it space to rise. I've also heard of people storing them in stoneware crocks, too, so glass and stoneware are both fine to use with a starter.
One thing that I have heard is best to avoid is tap water because the chlorine that's usually added to the tap water can potentially kill off the yeast. I usually use bottled water to be on the safe side (or you could used filtered water, too, if you have a filter - and if your town doesn't add chlorine to your water than you might be okay using tap water.) And the only other thing I can think of to avoid might be cross-contamination because the bacteria from other foods might kill the yeast, so I always use a clean spoon when I'm stirring the starter, and it might be a good idea to keep it far enough away from the stove that you don't have to worry about food splattering into the starter.
Otherwise, sourdough starters are pretty resilient, and once you get them established they're pretty hard to kill as long as you keep on feeding them. Mine's been going strong for several years now! :)
Susan
Sunday 17th of December 2017
Please explain to me what the sponge is. I'm to add flour etc to the sponge. Is it liquids or dough like.?
ourheritageofhealth
Sunday 17th of December 2017
Do you have a recipe that's telling you to add flour to the sponge? Some bread recipes ask you to mix up a blend of water, yeast, and flour to make what is called a sponge and then set that aside to rise for awhile. Then you add additional flour to the sponge and whatever other ingredients the recipe calls for. Some bread recipes, like the one I usually use, don't use this 2-step sponge method and just mix all of the ingredients together at once. The texture of the sponge could vary a bit depending on your recipe, but it's usually somewhere between liquid and doughy. Like a wet, sticky dough consistency.
Wanda
Tuesday 4th of July 2017
The starter method I used was flour and water