
(Affiliate disclosure: I may receive a commission if you purchase something through links in this post. As an Amazon Associate I earn from qualifying puchases. See more details here:)
Whether you’ve been gardening for years or whether this is your very first year gardening, with a little bit of planning you can easily save seeds from your garden harvest to use again for next year’s planting.
Saving the seeds from your own garden plants is a simple and easy way to make your frugal, old-fashioned garden even more frugal. If one of your goals for growing a garden is to save money with your garden then saving seeds is a great way to do that because you can eliminate the expense of buying seeds each year if you learn how to save your own seeds from your garden.
For most types of vegetables, saving seeds is a very easy process that requires little hands-on time and just a bit of organization and planning. Here are a few simple guidelines to make sure that your seeds are stored in a way that will keep them viable for planting next spring.
How to Tell if Your Seeds Are the Right Kind for Seed Saving
Before you try to save any seeds from your garden, you first want to make sure that your seeds are the type that can be saved for the next year.
For the best seed-saving results, make sure your seeds are:
- Heirloom and open-pollinated (not from hybrid plants)
- Annuals
- Not cross-pollinated
- Fully ripe
- From healthy plants
Seeds from hybrid plants will be unpredictable if you try to plant them in your garden the next year, but heirloom seeds will reproduce true to type as long when you save them from year to year. It’s usually pretty easy to tell if your plants are heirlooms or not because most seed packets or seedling containers are labeled “heirloom” if the plant is an heirloom. If you don’t see the word “heirloom” then you can try looking up the name of the variety you planted to see if it is an heirloom or a hybrid. Another label you can look for is “open-pollinated.” If your seeds are open-pollinated then you will be able to save them for the next year.
What you want to be careful of, though, is if you planted several different varieties of the same type of vegetable in your garden because they have most likely cross-pollinated. (I’ve definitely made that mistake before!) This isn’t as much of a problem for self-pollinating vegetables like beans and tomatoes, and it isn’t a problem if you don’t mind experimenting a bit, but if you’re trying to preserve the genetic make-up of an heirloom like squash or cucumbers, for example, you’ll want to make sure the plants haven’t cross-pollinated with each other. You can find tips for how to prevent cross-pollination for seed saving here.
Annual plants (like beans, cucumbers, squash, peppers, tomatoes, etc.) are also much, much easier to save seeds from than biennial plants (like cabbages, beets, carrots, cauliflower, onions, turnips etc.) because biennial plants would require harvesting the entire plant including the root, storing it over the winter, and then re-planting it again in the spring. (If you want to learn more about saving seeds from those type of plants, you can read about how to save seeds from biennial plants here.)
And, of course, you only want to save seeds from healthy plants that aren’t diseased and you want to make sure that the seeds are fully ripe. For many varieties of plants, you’ll want to let the vegetables stay on the vine longer than you usually would if you were eating them. So, if you were going to save seeds from beans, you would want to let them stay on the vine until you can see the seeds swelling inside the pods and the pods start to dry out. If you eating the beans as fresh green beans, you would want to pick them while they are still young and the seeds haven’t developed yet, but if you want to save seeds, then you need to let the seeds fully mature.
Where to Find Heirloom Seeds
You might be able to find heirloom seeds at a local garden center, but some of them carry more hybrid seeds than they do heirlooms, and their heirloom selection is usually pretty slim, so the best place to find a good variety of heirloom seeds is usually online. Especially if you are looking for specific varieties or rarer, more obscure varieties, you will most likely have a better chance of finding those online. If you are looking for more common heirloom varieties then you might be fine with just looking at a local garden center. If you want some ideas for where to find heirloom seeds online you can find a list of some of my favorite online sources for heirloom seeds here.
One of the sources in that list, and one of the companies that I am an affiliate for, SeedsNOW is a good source for beginner gardeners who want to try out heirlooms because they offer smaller sized sample seed packs for a low price, so if you want to try out a couple of heirloom varieties without spending the full cost for several larger packet then that might be a good option for you.
You can find more information about how to tell if seeds are fully ripe and about the differences between heirloom and hybrids, annuals and biennuals, and cross-pollination in these articles:
- Start Saving Those Vegetable Seeds! by The Farmer’s Almanac
- Saving Seed from Your Garden by Thank Your Body
How to Save Seeds from Your Garden for Next Year
Once you’ve made sure that your seeds are the right kind for saving, here are some simple steps to take to make sure they are stored properly for next season:
1) Make Sure to Save Enough Seeds
First, you’ll want to make sure you set aside enough seeds for the amount of vegetables you want to plant next year plus some extras for seeds that might not germinate or might be eaten by birds or chipmunks. When in doubt, it’s best to save aside more than you think you will need.
I’ve found it very helpful to have extra seeds on hand because if I have a season where a crop doesn’t do well for some reason (weather, pests, etc.) then I still have enough extra to plant again in the future.
2) Clean and Dry the Seeds
When preparing seeds to save, you want to make sure that you wash off any residual parts of the vegetable flesh that might still be on them, like the stringy parts of squash and pumpkin, for example. And once the seeds are clean, lay them out on a tray to dry. This usually takes several weeks, depending on the size and variety of seed you are saving.
Note: It’s important to make sure that the seeds are fully dry before you store them otherwise they might rot.
The best methods for cleaning and drying the seeds vary depending on the type of plants in your garden. This article from the Old Farmer’s Almanac has a helpful overview of the best methods for different categories of vegetables.
Some seeds, like tomato and cucumber seeds require a bit more work because they have to go through a fermentation process to remove the gel that coats the seeds. The fermentation process isn’t complicated, but it’s just an extra step to take to make your seeds more likely to germinate. Other seeds, like bean seeds, though, are very simple to prepare because you only need to remove them from the shells and they don’t even need to be rinsed or cleaned.
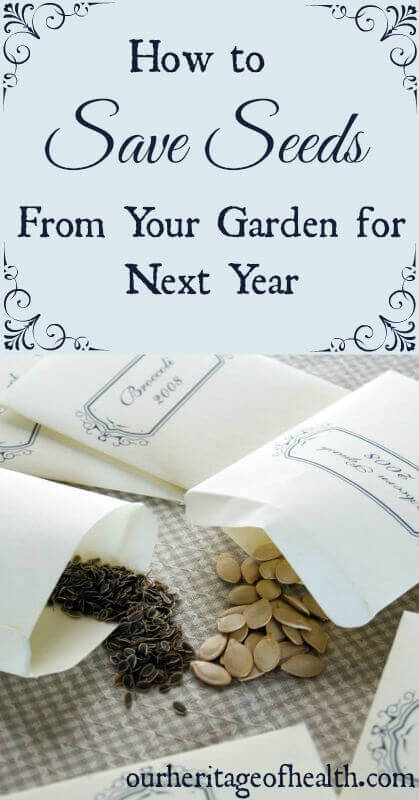
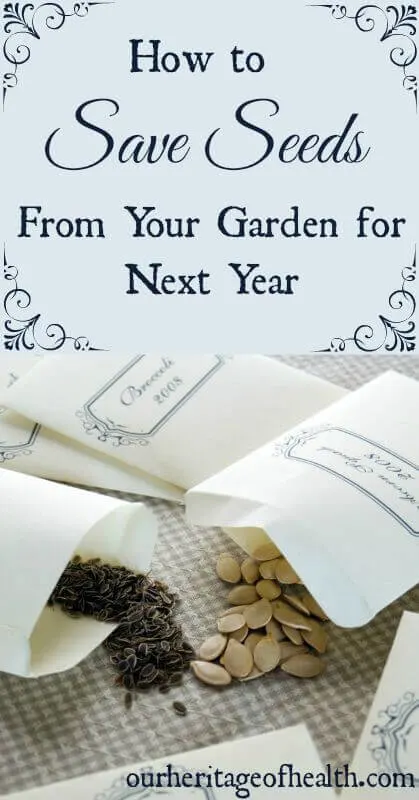
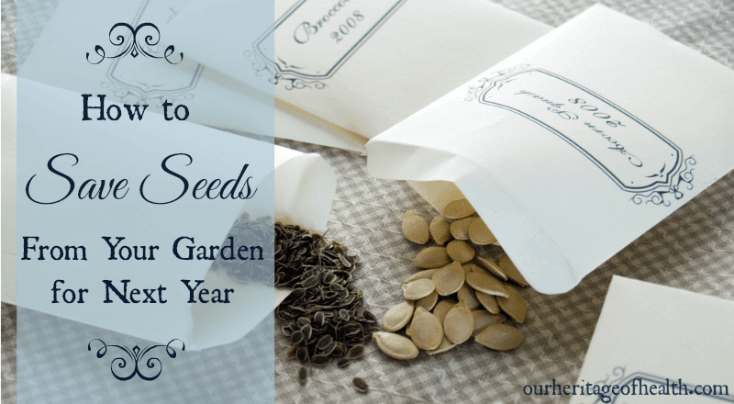
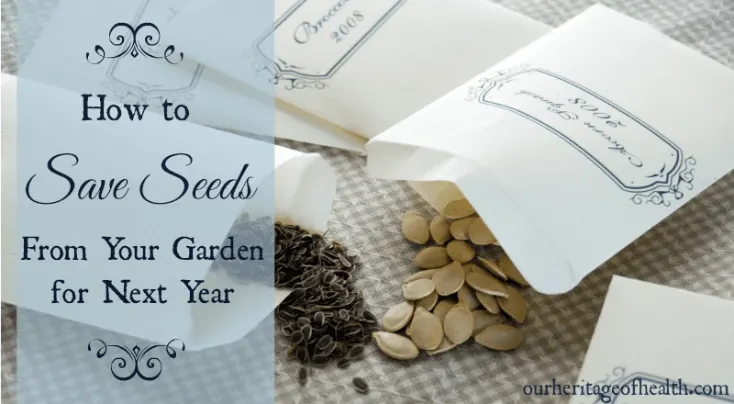
3) Package the Seeds
One option is to save the seeds in the original seed packets you bought earlier in the year if you saved them. This can be helpful because you can clearly see which variety of vegetable the seeds came from as well as any specific planting instructions that are on the packet. Or, if you threw the packets away, you can easily use an envelop as a substitute packet.
4) Label the Seeds
This step is an important one because, even if you think you know what each type looks like, by the time the next spring comes around there’s a good chance you might forget. You’ll want to write down the type of vegetable, the name of the specific variety, the date you packaged the seeds, and any information about how you grew the plants that you might want to remember for the following year.
5) Store the Seeds in a Cool, Dry Place
Once your seeds are all packaged, you’ll want to keep them in a place that’s cool and dry. The main thing you want to avoid is storing them in a place where there’s a lot of moisture or a place where there are dramatic fluctuations in temperature.
And that’s all there is to it! Once you’ve harvested and stored your seeds, you’ll be all set for planting your garden again next spring.


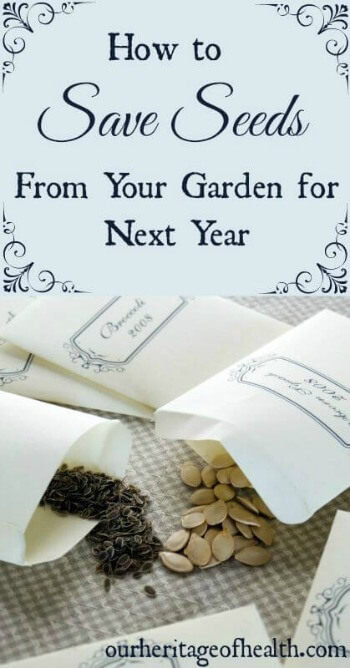
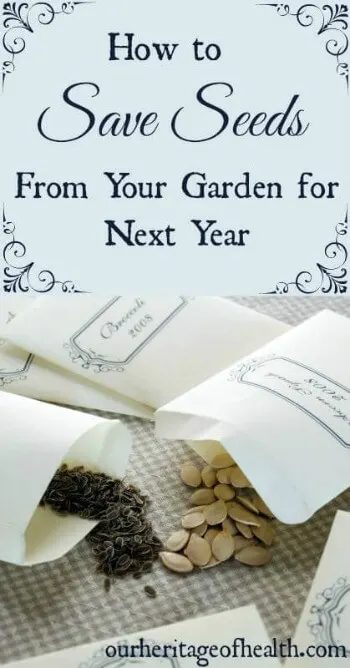
Photo Credit (C) Depositphotos.com/[MonaMak]
(We are a participant in the Amazon Services LLC Associates Program, an affiliate advertising program designed to provide a means for us to earn fees by linking to Amazon.com and affiliated sites.)
The information in this post is not to be taken as medical advice and is not intended to diagnose or treat any disease.
Jai
Monday 28th of September 2020
I am so glad I came across this article. So much helpful information. You have answered questions I have had for some time. Thank you for an amazing article.
Lori Elliott
Monday 28th of September 2020
I'm so glad to hear that you found it to be helpful! Thanks for stopping by!
Mary Warinda
Wednesday 29th of August 2018
I am richer now with knowledge on seed saving. The washing bit is new to me.
Lori Elliott
Wednesday 29th of August 2018
I'm glad to hear that you feel more knowledgeable about seed saving now! :)
Larry
Monday 26th of June 2017
Old pill bottles are a great for saving seeds. Most are air tight so drying is very important. The opaque ones protect from light and they keep moisture out. They will not deter a determined mouse, but if you clean the outside with rubbing alcohol, the mice may never pick up the scent.
Make one label for the variety of vegetable and a second label with a packaging date. The second label gets replaced each season.
OTC pill bottles are generally better than prescription bottles. I save bottles from aspirin, allergy tabs, vitamins, etc.
Jai
Monday 28th of September 2020
Thank you for sharing. Great idea!
ourheritageofhealth
Monday 26th of June 2017
Good tip - thanks for sharing with us! :)
Jack Morris
Thursday 1st of September 2016
can u sign me up to follow you, please?
ourheritageofhealth
Thursday 1st of September 2016
Hi Jack, There are a couple of different ways you could follow me.
1) If you wanted to follow me by email, you can sign up for my email newsletter by entering your email address in the link here: http://madmimi.com/signups/82374/join
2) If you wanted to follow me on Facebook, you can find my Facebook page here and "like" the page to follow it: https://www.facebook.com/OurHeritageofHealth/
3) If you wanted to follow me on Pinterest, you can find my Pinterest page here: https://www.pinterest.com/heritagehealth3/
50 ways to become more self-sufficient in 1 hour or less
Tuesday 16th of August 2016
[…] Save seeds- CLICK HERE for a great tutorial on how to save seeds […]